
How to Read Architectural Drawings: A Beginner's Guide for Homeowners
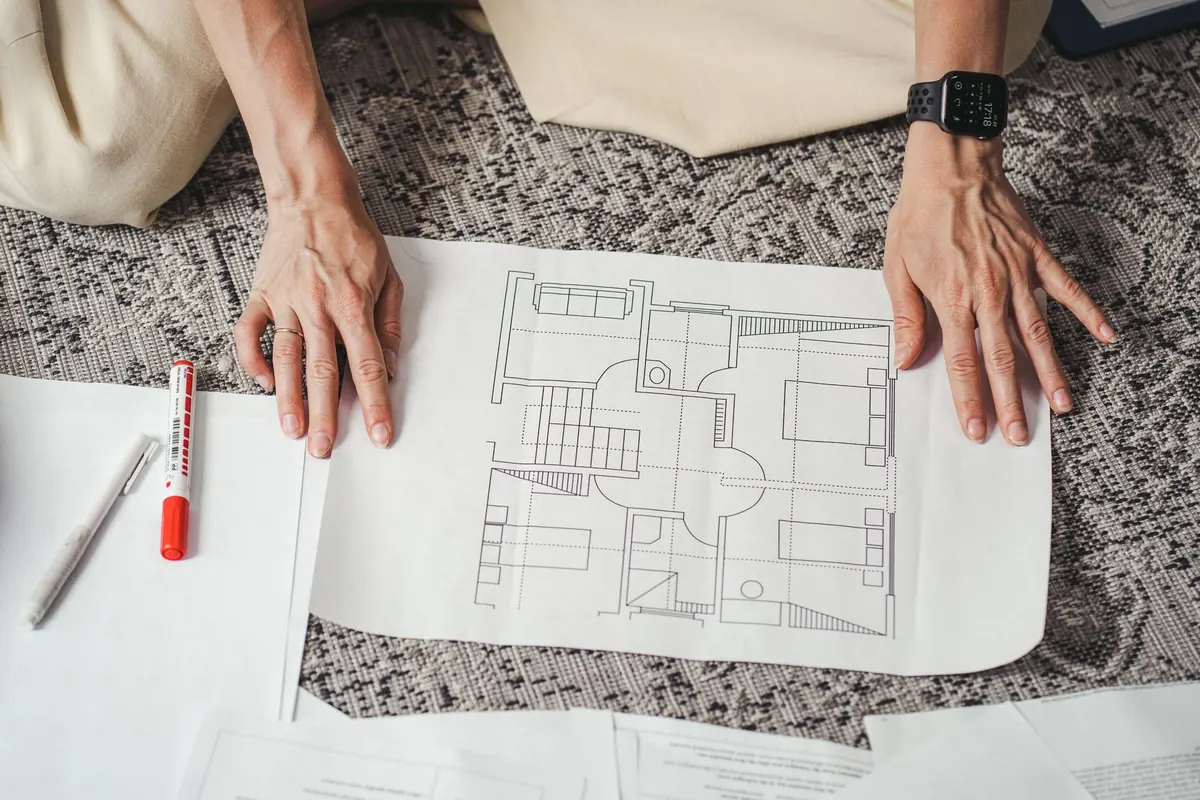
At some point during a renovation or extension, someone will unroll a set of drawings across your kitchen table and ask whether it looks right. It is an odd moment. The pages are confident and precise, covered in thin lines and tiny numbers, and you are somehow expected to have an opinion on all of it.
You do not need to be able to draw to read a drawing. You need a handful of conventions, a scale rule, and the willingness to ask what a symbol means. Here is what the lines are actually telling you.
Start with the scale, not the picture
Before you look at the shape of anything, find the scale. Most domestic work is drawn at 1:100, where one centimetre on the paper equals one metre in real life. Room-level plans often come at 1:50, and construction details at 1:20 or even 1:5, where a joist hanger or a window head gets a sheet to itself. The smaller the second number, the more zoomed in you are.
Two practical points. If you are sent a PDF, print it at the sheet size marked in the corner, usually A3, or the scale bar will mislead you. And if a drawing says do not scale, believe it. Use the written dimensions rather than a ruler, because paper stretches, printers shrink and a measurement taken off a print can easily be 50mm out — which matters when a washing machine has to fit.
Floor plans: the house seen from above
A floor plan is a horizontal slice through the building, taken roughly a metre above floor level. Everything below that line is drawn as though you are looking down at it; everything above is usually shown dashed. Walls appear as thick bands, often hatched to show the material. Windows sit in the wall line as thinner lines, doors appear as a gap with a quarter-circle showing the swing, and stairs get an arrow marked up.
Dashed lines are worth learning early. They usually mean something overhead: a roof light, an extractor hood, the overhang of a first floor, a beam. Room names and floor areas are printed inside each space, and dimension chains run around the outside edges. Those outside numbers are the ones to trust; the drawings inside a room are often furniture, and furniture in a plan is indicative rather than a promise.
What to check on a plan
- Overall widths and depths against your own rough measurements of the existing house.
- Door swings — will a door open into a radiator, a socket or the corner of a bed?
- Window positions relative to where you will actually put furniture.
- Storage. Cupboards, wardrobes, coats, shoes, bins, the vacuum.
- Circulation. Hallway widths and the gap between a kitchen island and a run of units.
- Where the boiler, hot water cylinder, fuse board or ventilation unit is going.
- Anything you assumed would be there but cannot see on the drawing.
Elevations: how it will look from outside
Elevations are flat views of each face of the building: front, rear, and both sides. They are the drawings planning officers and neighbours look at most, and they deal in heights rather than widths. Expect to see the ground line, floor levels, window sill and head heights, the eaves, the ridge, and the material of every surface — brick, render, timber cladding, slate or tile — usually indicated with hatching and a label.
Levels are normally given in metres against a datum, often the finished floor level of the existing ground floor, written as 0.00. So a figure of +2.70 tells you the first floor sits 2.7 metres above that point. Check that first-floor windows line up with those below, that the extension roof meets the existing wall sensibly, and that gutters, downpipes, flues and vents have somewhere to go. It is surprising how often a beautifully drawn elevation has a soil pipe running straight through the middle of the front door canopy.
Sections: cutting the building open
A section slices the building vertically, as though you had taken a knife to it, and shows what is inside the walls and floors. Sections are where heights and build-ups live. Look for finished floor levels, ceiling heights, roof pitch, insulation thickness, floor construction and how new structure meets old.
This is the drawing to study if ceiling height is tight. A generous-looking room can lose 300mm to a new floor build-up, a duct or a steel beam, and the section is the only place that shows it. If the numbers do not add up — headroom on a staircase, or space for the insulation the specification asks for — the section is where you will spot it first.
The notes, labels and title block
Abbreviations are simply shorthand. FFL means finished floor level; GA means general arrangement, the main plan; NTS means not to scale; TBC means to be confirmed — and anything marked TBC is a question waiting to be asked. A revision cloud around part of a drawing marks something that has changed, with a number or letter in a triangle nearby.
The title block in the corner is the most important part of the sheet and the most overlooked. It tells you the project, the drawing number, the revision, the date, the scale, and the status: planning, building regulations, or construction. Always refer to drawings by number and revision when you reply to an email, and keep one master set rather than three half-sets floating around the house.
Read the set, not the sheet
A project rarely arrives as one drawing. Expect a location plan, existing and proposed plans, elevations and sections, a site plan, construction details, and schedules listing windows and doors with their sizes and types. Compare existing against proposed side by side — it is the quickest way to see what is actually changing. And notice what the set does not cover: heating layouts, electrics, drainage runs and party wall matters are often separate packages. For anything structural, legal or relating to planning permission and building regulations, take advice from your architect, structural engineer or solicitor rather than relying on the drawings alone.
How to use drawings well
Print at A3 if you can, then walk the plan with a tape measure in the real house, standing where the new kitchen island will be. Mark up the drawing in pencil — or red pen if you want to be taken seriously — photograph it and send it back with your questions numbered in the same order as the drawing references. Ask "what happens at this corner?" about every junction you do not understand, and ask for answers in writing, on the drawing if possible.
Nobody expects you to know what a symbol means on first sight. Asking a five-minute question at design stage is far cheaper than discovering the answer when the plasterboard is already up. Treat the drawings as a conversation rather than a verdict, and you will get a home that matches the one you had in your head.
Photo: SHVETS production / Pexels